Knowing how to create a professional self-tape audition is a critical skill for any performer. Nowadays everyone from community theatres to colleges is requesting that performers send in video auditions. So it’s important to know how to put your best self forward in digital form.
Equipment
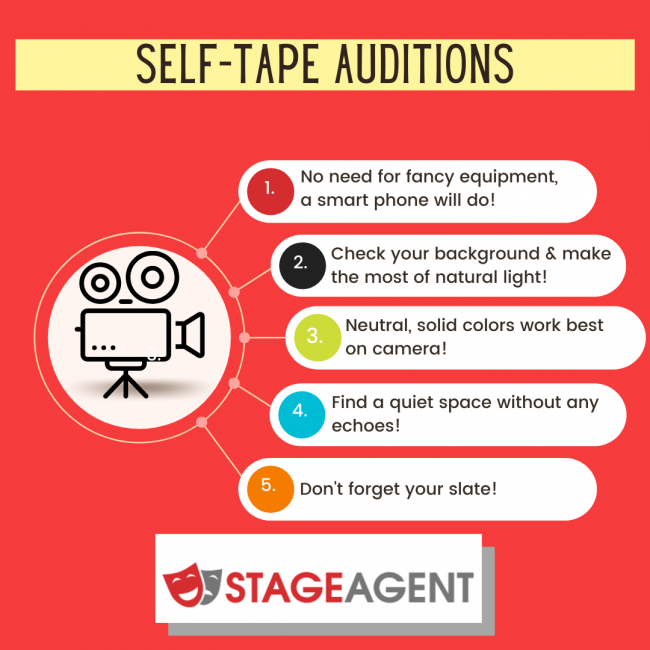
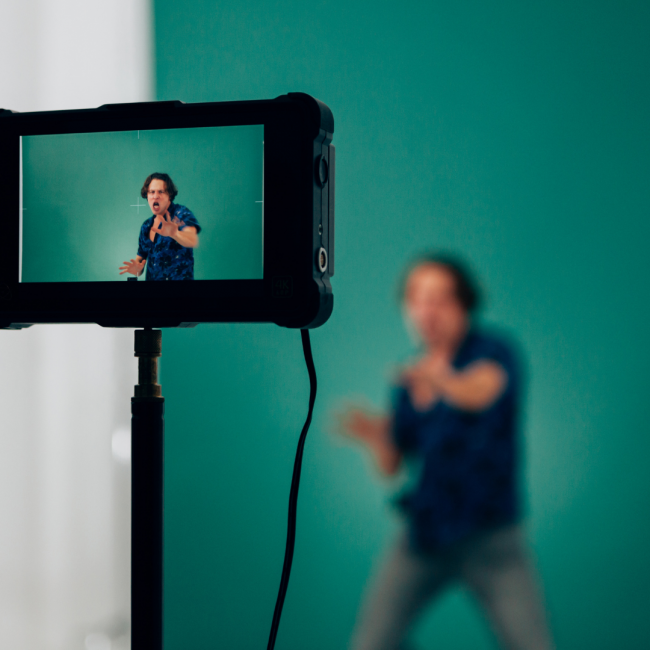
You don’t need any fancy equipment to shoot a good quality self-tape audition. A smartphone is fine. Use the back camera (not selfie mode). This will also keep you from distracting yourself by having to look at yourself as you perform. Set your phone down somewhere stable, and make sure you can see ¾ of your body in the frame (from the waist up). Make sure any movements you plan to do during your audition will still be in the frame. Shoot the video in a horizontal position, not vertical, so you don’t get all that blank space on either side when you upload it.
Location
Give some thought to the background before you shoot. Try to avoid a very cluttered background. The goal is for your audience to be looking at you, not trying to look around your room. Also refrain from having windows or mirrors behind you to avoid getting too much glare.
Lighting
You don’t need a fancy ring light to be well lit. Natural light from a window is great and can be very flattering. You can also adjust a floor or desk lamp to great effect. Ideally you should have some light coming from above, and some in front or slightly below. It’s very important that the people who will be watching your video can see your eyes and facial expressions. So, make sure that you are well lit and don’t have any shadows.
Sound
Try to find the quietest space you can that is not echo-y. An empty room is not ideal. You want to make sure you can be understood with the least amount of background noise. If you’re singing and using an accompaniment track, make sure to do a test video so you can properly balance the playback with your singing. If you are playing an instrument to accompany yourself, make sure we can still see your face and you are not hiding behind your instrument.
Clothing
Neutral, solid colors work best on camera. Bright colors and small patterns are fine, but avoid stripes. And make sure your clothing doesn’t clash with your background. If you wear glasses make sure we can still see your eyes. If not, adjust your lighting or consider taking off your glasses.
Slate
You should slate for every self-tape audition. A slate is a short introduction at the top of your audition stating your name and the material you will be performing. For example, “Hi, my name is Laura Josepher and I’ll be performing ‘Back to Before’ from Ragtime.” If you are performing a monologue and a song, slate before each selection unless otherwise requested.

Where to Look / Where to Stand
Ideally, you should stand about three feet away from your backdrop to avoid shadows. You can put a piece of tape on the floor to remind you where to stand to be in the frame. Your focus should be just to the side of your camera.
Editing
Once you’ve done several takes and chosen the best one(s), it’s important you edit your submission. You don’t need to be a professional video editor to do this. We don’t need to see you hitting ‘play’ on your accompaniment track or walking to your phone to turn it off at the end. You can use iMovie or similar apps to edit right on your phone. If you can figure out how to add graphics, it’s nice to add your name, audition material, and the project you’re auditioning for at the bottom of the screen. Make sure you spell check everything. Lastly, rename your video file with your name and the date or project name (for example: LauraJosepher080120 Ragtime.mov). This way, your submission can be easily found on the casting director’s hard drive.
Just a Note…
With more and more auditions winding up on YouTube, it is common for casting professionals and directors to go there first when hiring. Make sure any self-tape auditions you post are things you feel represent you well. And be sure to take them down when they no longer serve you.
* * *
Self-taping is an audition skill that is becoming more and more necessary. With just a little preparation, you can be ready to put your talent on tape to share with the world.
Here’s a handy reminder of some top tips to ace your next self-tape audition!
